
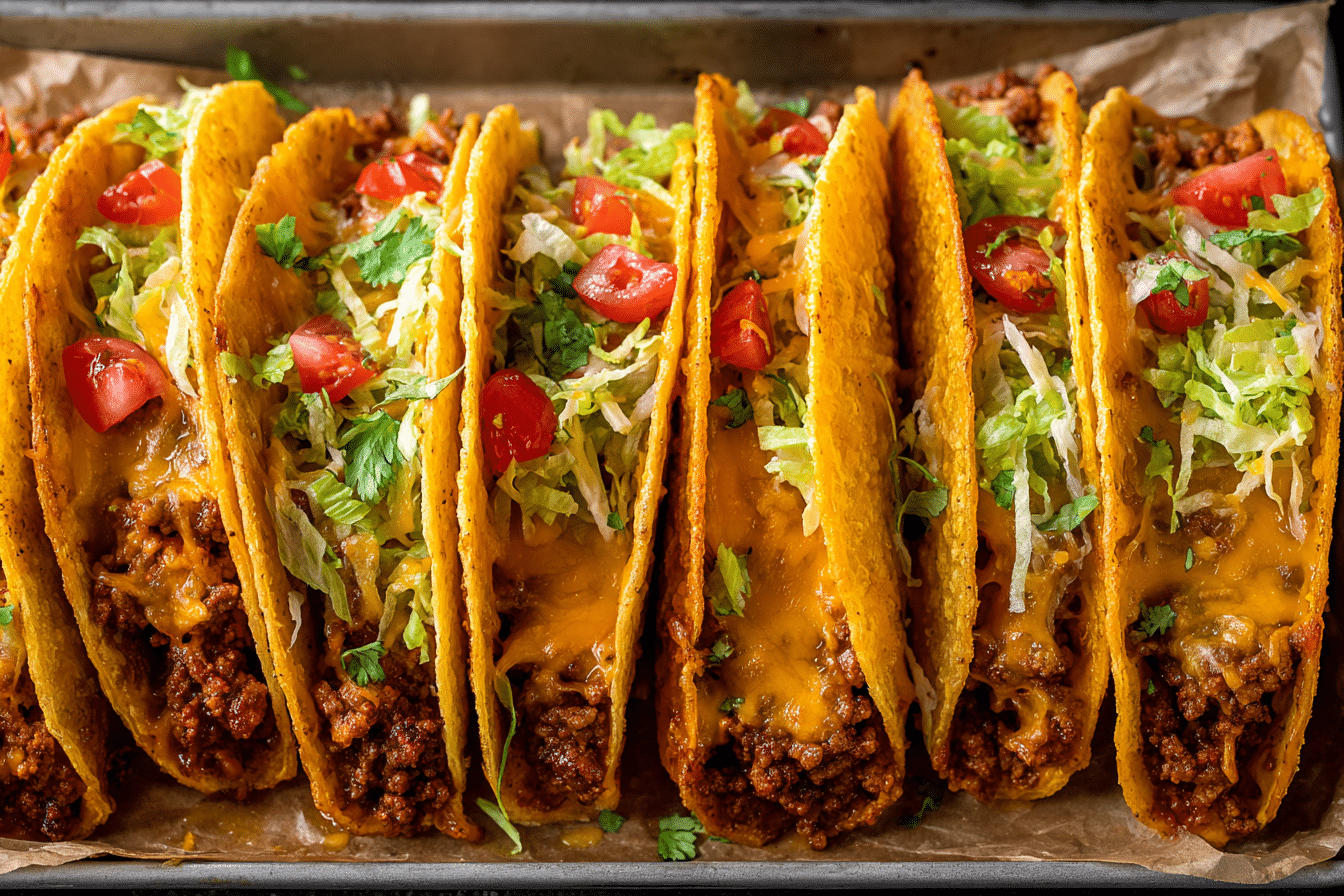
These Crispy Baked Ground Beef Tacos are the perfect answer to weeknight cravings — easy to assemble, packed with flavor, and baked until the shells are golden and the cheese is perfectly melted. With savory seasoned beef, melty cheese, and crunchy taco shells all baked together on a single tray, this recipe offers everything you love about tacos with none of the last-minute stovetop mess.
Unlike traditional tacos that require you to cook and assemble individually, this oven-baked method is quick, efficient, and ideal for feeding a crowd. Whether you’re serving a family dinner, prepping ahead for taco night, or planning a game day spread, these tacos are reliable, customizable, and incredibly satisfying.
From the sizzling skillet aroma of spiced ground beef to the final oven-crisped finish, every step in this recipe is designed for flavor and ease.
Ingredients Overview
Each ingredient plays a role in achieving that perfect balance of flavor, crunch, and creaminess. Here’s what you’ll need to make these tacos just right:
-
Ground Beef (80/20): A slightly higher fat content ensures juicy, flavorful filling. Leaner beef works too but may need extra moisture.
-
Taco Seasoning: You can use a store-bought blend or make your own using chili powder, cumin, paprika, garlic powder, and oregano. For a smoky touch, add a pinch of chipotle powder.
-
Tomato Paste or Salsa: Helps bind the beef mixture while adding richness and a bit of tang.
-
Shredded Cheese: Cheddar, Monterey Jack, or a Mexican blend melt beautifully and add that essential gooey texture.
-
Hard Taco Shells: Classic store-bought corn taco shells hold up well during baking and get extra crispy in the oven.
-
Oil Spray (Optional): Lightly misting the tacos before baking helps them crisp evenly.
-
Toppings (Optional): After baking, customize with shredded lettuce, diced tomatoes, sour cream, avocado, jalapeños, or hot sauce.
Ingredient Swaps:
-
Substitute ground beef with ground turkey or chicken for a lighter version.
-
Add black beans or corn to the beef mixture for texture and added fiber.
-
Use soft tortillas baked in a muffin tin for a fun “taco cup” variation.
Step-by-Step Instructions
1. Cook the Ground Beef
In a large skillet over medium heat, brown the ground beef, breaking it up as it cooks. Once fully browned and no longer pink, drain off excess grease if necessary. Stir in taco seasoning and tomato paste (or salsa), then add a splash of water or broth. Simmer for 3–5 minutes until the mixture thickens and coats the meat.
2. Preheat the Oven and Prepare the Shells
Preheat your oven to 400°F (200°C). Line a baking dish or sheet pan with foil or parchment for easy cleanup. Arrange the taco shells standing upright — use a baking dish that fits them snugly so they stay in place, or crumple foil between shells to hold them upright.
3. Assemble the Tacos
Spoon a generous amount of the seasoned beef into each taco shell. Top with a handful of shredded cheese. Don’t overfill — you want the tacos to hold their shape during baking.
4. Bake Until Crispy
Place the dish in the oven and bake uncovered for 10–12 minutes, or until the cheese is melted and bubbly and the shells are golden and crisp. Keep an eye on them during the last few minutes to avoid over-browning.
5. Add Toppings and Serve
Remove the tacos from the oven and let them cool slightly. Finish with your favorite toppings — shredded lettuce, chopped onions, avocado slices, sour cream, fresh cilantro, or a drizzle of hot sauce.
Tips, Variations & Substitutions
-
Cooking Tips:
-
For added richness, stir in a bit of cream cheese or sour cream into the beef before stuffing.
-
To prevent soggy bottoms, bake the shells briefly before filling (3–4 minutes at 375°F).
-
Add a layer of cheese at the bottom of each shell before the beef to create a “cheese barrier.”
-
-
Flavor Variations:
-
Swap taco seasoning for fajita seasoning or a spicy chipotle rub.
-
Add sautéed onions and bell peppers to the beef mixture.
-
Mix shredded zucchini or spinach into the beef for a veggie boost.
-
-
Dietary Modifications:
-
Use dairy-free cheese for a lactose-free version.
-
Choose gluten-free taco shells if needed.
-
Make them low-carb by stuffing the filling into bell pepper halves and baking until tender.
-
Serving Suggestions & Occasions
These tacos are great for more than just Tuesday night dinners — they’re a guaranteed hit anytime you want to feed a crowd with minimal stress.
Serve them with:
-
Cilantro-lime rice or Mexican street corn
-
Black bean salad or guacamole
-
Fresh pico de gallo and tortilla chips
Great for:
-
Family dinners
-
Potlucks and casual parties
-
Meal prepping (store leftovers and reheat in the oven)
-
Game night snacks or Cinco de Mayo celebrations
Their crispy texture and cheesy filling make them a universal favorite that disappears fast.
Nutritional & Health Notes
These tacos offer a satisfying mix of protein, carbs, and fat — ideal for a filling dinner. One taco typically includes:
-
Protein: From beef and cheese, supporting muscle repair and satiety.
-
Fat: Mostly from the cheese and beef — you can reduce it by using leaner cuts or swapping dairy.
-
Carbs: Corn taco shells provide energy, but whole-grain or low-carb options are available.
Make it lighter:
-
Use lean ground meat or plant-based alternatives.
-
Reduce cheese or use a low-fat version.
-
Load up with lettuce, tomatoes, and avocado instead of extra cheese or sour cream.
FAQs
Q1: Can I use soft tortillas instead of hard shells?
Yes, but they won’t crisp up the same way. To bake soft tortillas, lightly oil them and press into a muffin tin to create taco cups.
Q2: How do I keep taco shells from breaking?
Warm them slightly before filling to make them more pliable. You can microwave or bake them for 2–3 minutes before assembly.
Q3: Can I make these ahead of time?
You can prepare the beef mixture in advance. Assemble and bake just before serving for the best texture.
Q4: How do I store and reheat leftovers?
Keep leftover tacos in an airtight container in the fridge for up to 3 days. Reheat in a 375°F oven for 8–10 minutes until crispy.
Q5: Can I freeze baked tacos?
Freezing is not ideal as the shells may get soggy. Instead, freeze the cooked beef mixture and assemble fresh when ready to eat.
Q6: What kind of cheese melts best?
Shredded cheddar, Monterey Jack, or a Mexican blend all melt well. Avoid pre-shredded cheeses with anti-caking agents if possible — they don’t melt as smoothly.
Q7: How do I make this spicier?
Add diced jalapeños, a pinch of cayenne to the beef, or top with hot salsa or habanero sauce.
Print
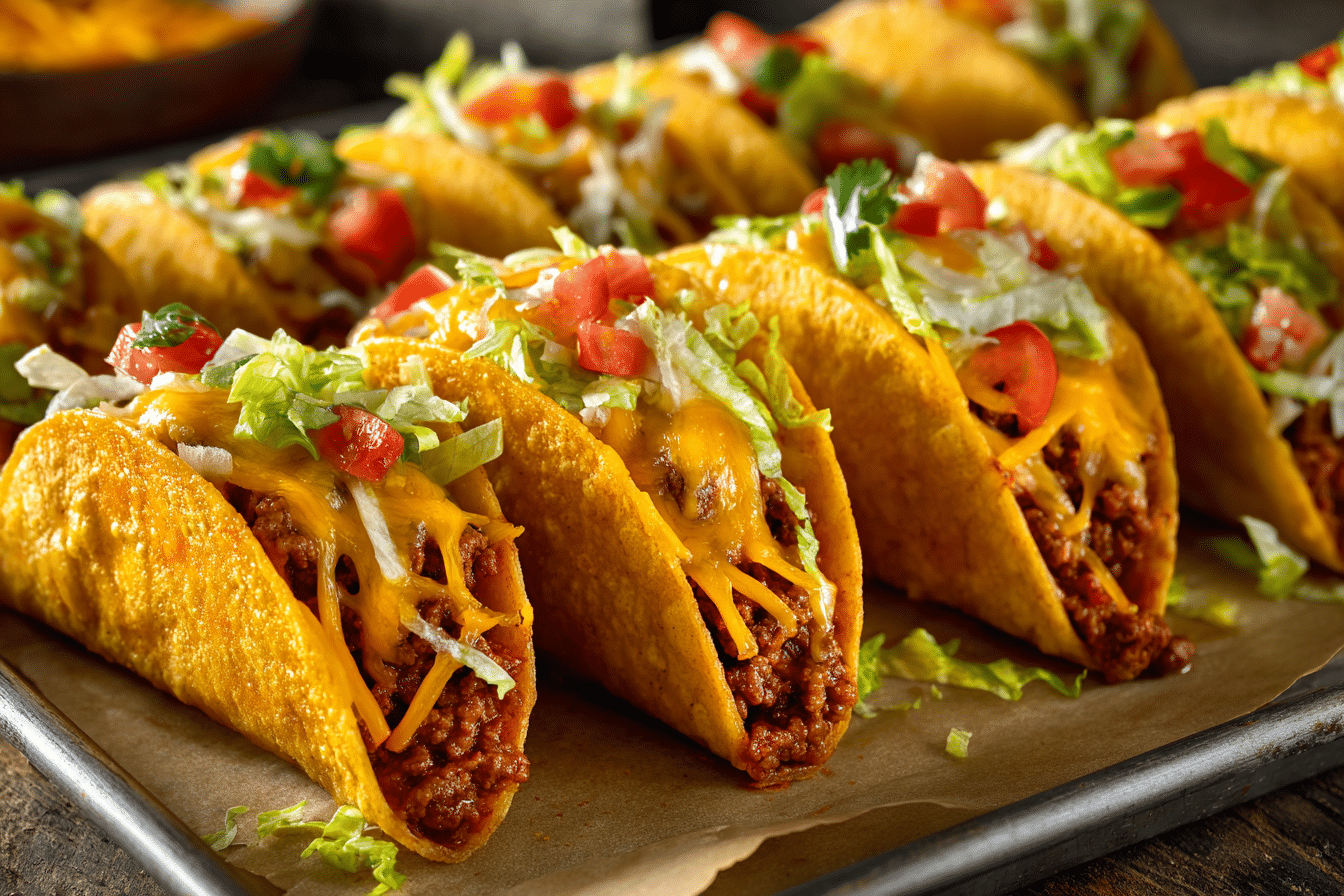
Crispy oven-baked tacos filled with seasoned ground beef and melty cheese, perfect for an easy, crowd-pleasing dinner.
- Prep Time: 10 minutes
- Cook Time: 20 minutes
- Total Time: 30 minutes
- Yield: 6 servings 1x
Ingredients
-
1 lb ground beef (80/20)
-
2 tbsp taco seasoning (or homemade)
-
2 tbsp tomato paste or 1/4 cup salsa
-
10–12 hard taco shells
-
1 1/2 cups shredded cheddar or Mexican blend cheese
-
Optional toppings: shredded lettuce, diced tomatoes, sour cream, avocado, jalapeños
Instructions
-
Preheat oven to 400°F (200°C).
-
In a skillet over medium heat, cook beef until browned. Drain excess fat.
-
Stir in taco seasoning, tomato paste/salsa, and a splash of water. Simmer 5 minutes.
-
Arrange taco shells in a baking dish. Spoon in beef mixture, then top with cheese.
-
Bake for 10–12 minutes until cheese is melted and shells are crisp.
-
Cool slightly, then top with desired garnishes and serve warm.