
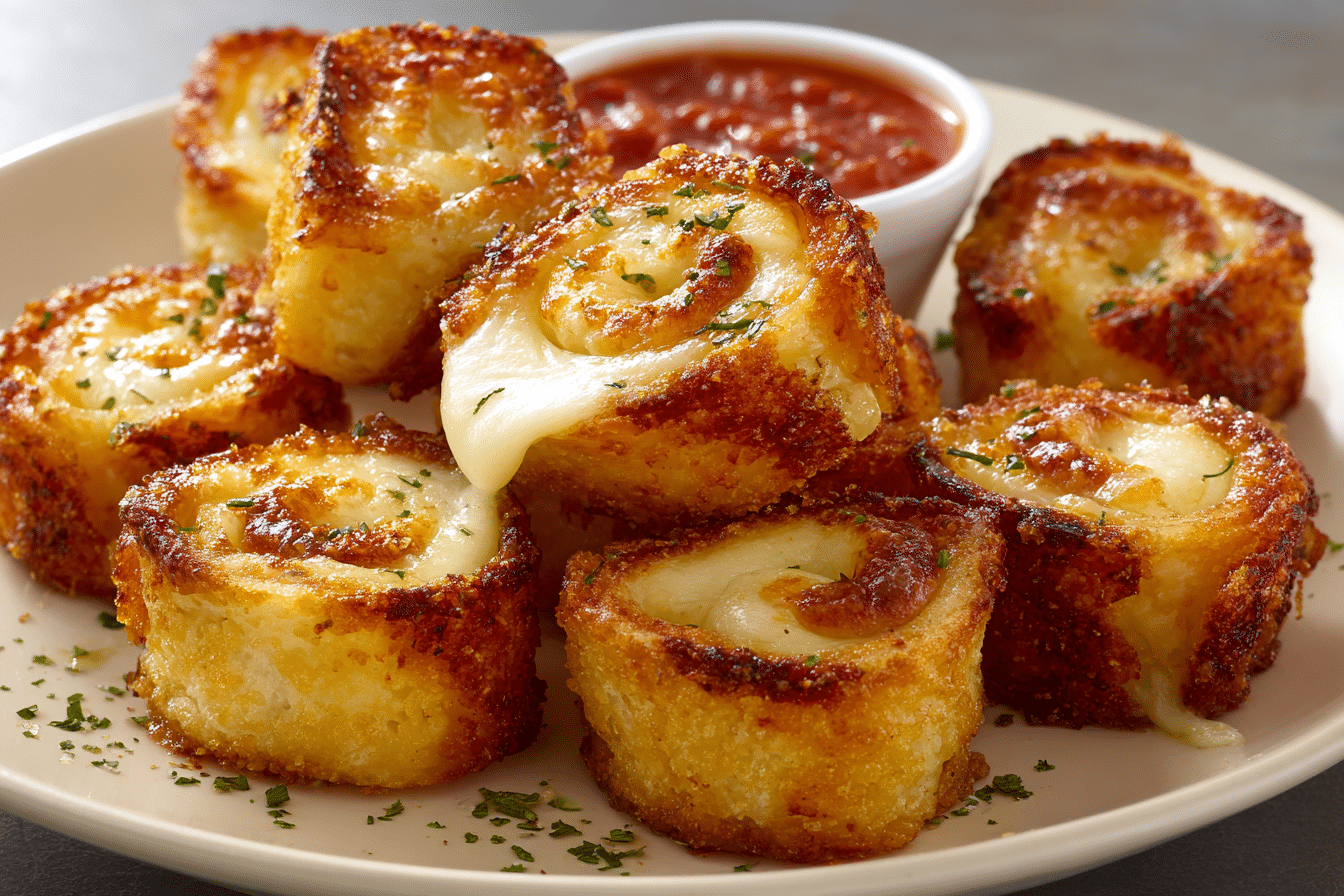
Grilled Cheese Roll-Ups take the familiar comfort of a classic grilled cheese sandwich and transform it into a fun, bite-sized version with a crisp golden exterior and a warm, melty center. These roll-ups are simple to prepare and cook quickly, making them perfect for both quick meals and satisfying snacks.
Each piece is made by flattening soft bread, wrapping it around gooey cheese, and toasting it in butter until perfectly crisp. The result is a delightful contrast between crunchy edges and a soft, cheesy interior that feels both playful and comforting.
Whether served as an appetizer, lunch, or after-school snack, these roll-ups bring a fresh twist to a well-loved favorite.
Ingredients Overview
The success of Grilled Cheese Roll-Ups comes from a few simple ingredients working together to create the ideal balance of texture and flavor. Soft sandwich bread is the foundation, and choosing a fresh loaf helps the bread roll easily without cracking. White or whole wheat bread both work well, depending on your preference.
Cheese is the heart of the recipe. Sliced cheddar, American, or mozzarella melts smoothly and creates that signature stretchy center. Combining two types of cheese can add more depth while still maintaining a creamy texture.
Butter is essential for achieving a golden, crisp exterior. It coats the outside of the bread and helps it toast evenly in the pan. A light, even layer works best to prevent sogginess while still giving a rich flavor.
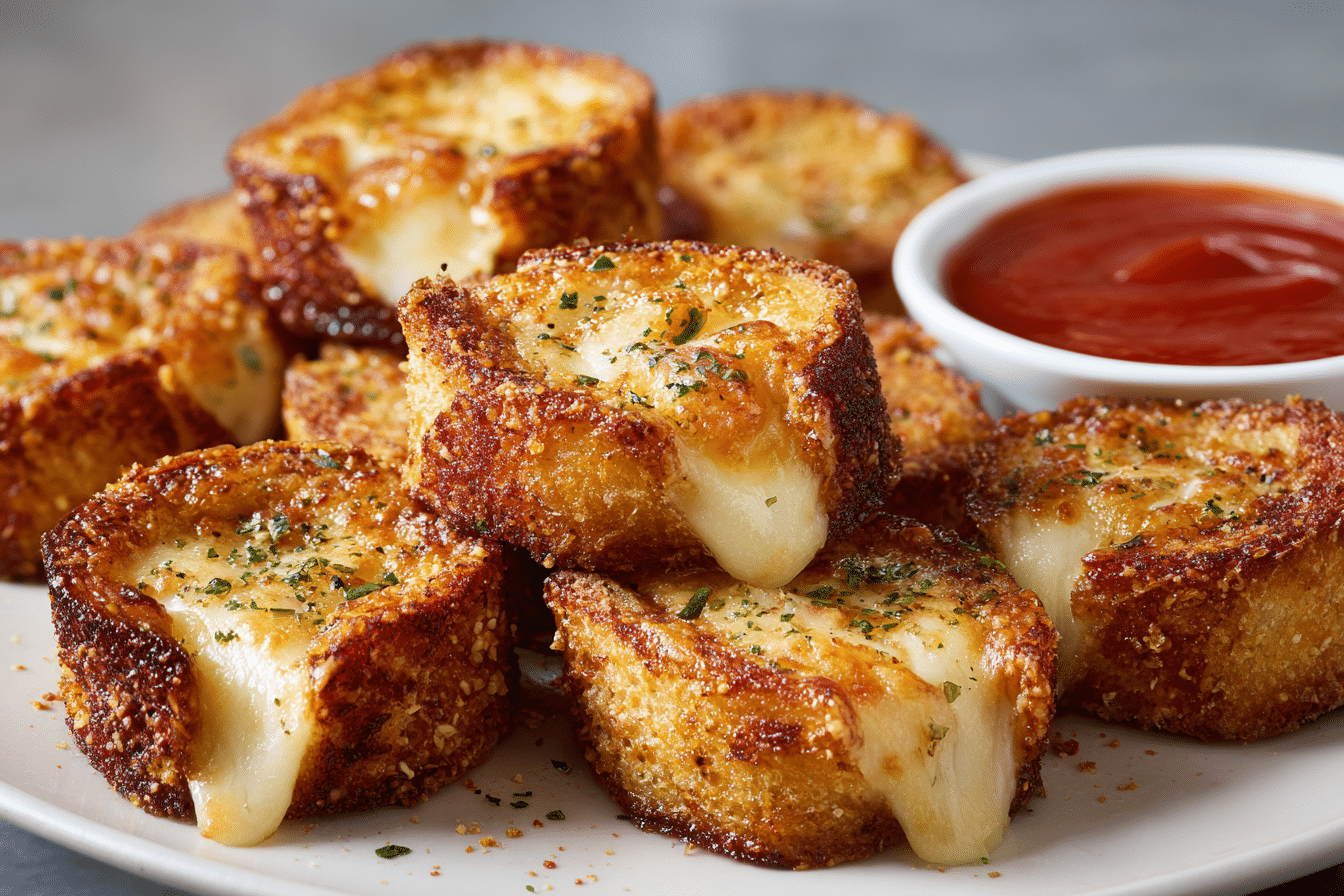
Optional additions like garlic powder or a sprinkle of herbs can add subtle flavor without overpowering the cheese. For dipping, tomato soup or marinara sauce pairs naturally with the roll-ups and complements their richness.
For variations, you can swap in gluten-free bread or use plant-based cheese and butter alternatives while still keeping the core idea intact.
Ingredients
8 slices soft sandwich bread
8 slices cheddar or American cheese
2 tablespoons unsalted butter, softened
1/4 teaspoon garlic powder (optional)
1 tablespoon chopped parsley (optional)
Step-by-Step Instructions
Start by preparing the bread. Trim the crusts from each slice to make rolling easier and create a uniform texture. Using a rolling pin, gently flatten each slice until it becomes thin and pliable.
Place a slice of cheese on each flattened piece of bread. If the cheese is too large, trim it slightly so it fits neatly within the edges. This prevents excess cheese from leaking out during cooking.
Carefully roll each slice of bread tightly around the cheese, forming a compact log. Press gently at the seam to help it stay closed.
Heat a nonstick skillet over medium heat. While the pan warms up, spread a thin layer of butter over the outside of each roll-up. This will help create an even golden crust.
Place the roll-ups seam-side down in the skillet. Cook for 2–3 minutes, turning occasionally so all sides become evenly golden brown. Use gentle pressure with a spatula to keep the shape intact and help the cheese melt inside.
Watch closely to avoid overcooking. The goal is a crisp exterior with fully melted cheese. If the heat is too high, the bread may brown too quickly before the cheese has time to melt.
Once cooked, remove from the skillet and let them rest briefly before serving. This allows the cheese to settle slightly, making them easier to handle.
Serve warm for the best texture and flavor.
Tips, Variations & Substitutions
For smoother rolling, use fresh bread and avoid slices that are too thick or dry. If the bread starts to crack, lightly pressing it thinner can help restore flexibility.
Try mixing cheeses such as cheddar and mozzarella for a combination of flavor and stretch. Adding a thin layer of cream cheese before rolling can create an extra creamy center.
For a savory twist, include thin slices of cooked bacon or ham inside the roll-ups. A sprinkle of herbs like parsley or chives can add a fresh finish.
If you prefer a lighter option, use less butter or cook the roll-ups in a nonstick pan with minimal added fat. Plant-based butter and cheese alternatives can be used for a dairy-free version.
For extra crispness, cook on slightly lower heat for a longer time, allowing the bread to toast evenly without burning.
Serving Ideas & Occasions
Grilled Cheese Roll-Ups are perfect for casual meals and gatherings. Serve them alongside tomato soup for a comforting lunch or pair them with a simple salad for a more balanced plate.
They also work well as appetizers for parties, as their bite-sized shape makes them easy to serve and eat. Arrange them on a platter with dipping sauces like marinara, ranch, or a light garlic sauce for variety.
These roll-ups are especially appealing for family meals or snack time, offering a playful take on a familiar dish that both kids and adults can enjoy.
Nutritional & Health Notes
These roll-ups provide a mix of carbohydrates, fats, and protein, making them a satisfying snack or light meal. Cheese contributes calcium and protein, while the bread offers energy through carbohydrates.
Using whole grain bread can increase fiber content, and reducing the amount of butter can help lower overall fat levels. Choosing lighter cheese options may also adjust the nutritional balance.
As with most comfort foods, enjoying these roll-ups in moderation and pairing them with vegetables or lighter sides can help create a more balanced meal.
FAQs
Can I make these ahead of time?
Yes, you can assemble the roll-ups ahead of time and store them in the refrigerator for several hours before cooking. Keep them covered to prevent the bread from drying out. When ready to cook, allow them to sit at room temperature for a few minutes so they cook evenly. Freshly cooked roll-ups will always have the best texture.
What type of cheese melts best?
Cheeses like American, cheddar, and mozzarella melt smoothly and are ideal for this recipe. American cheese melts very evenly, while mozzarella provides a stretchy texture. Combining cheeses can create a balance of flavor and meltability.
Can I bake these instead of pan-frying?
Yes, you can bake them in the oven at 375°F (190°C) for about 10–12 minutes, turning once halfway through. They may not be as crisp as pan-fried versions, but they will still have a golden exterior and melted center.
How do I keep them from unrolling?
Placing the roll-ups seam-side down in the pan first helps seal them as they cook. Pressing gently with a spatula also helps maintain their shape. If needed, you can secure them with toothpicks during cooking and remove them before serving.
Can I freeze grilled cheese roll-ups?
Freezing is not recommended after cooking, as the texture can become less appealing when reheated. However, you can freeze assembled but uncooked roll-ups and cook them fresh when needed.
What bread works best?
Soft sandwich bread works best because it rolls easily without breaking. Avoid crusty or thick breads, as they can crack when rolled. White and whole wheat bread are both good options.
Can I add other fillings?
Yes, you can include thin slices of ham, turkey, or cooked vegetables for added flavor. Keep the fillings thin to maintain the roll shape and allow even cooking.
PrintGrilled Cheese Roll-Ups: 5 Easy Amazing Comfort Bites
Crispy, golden grilled cheese roll-ups with a melty center, perfect for quick snacks or simple meals.
Ingredients
8 slices sandwich bread
8 slices cheese
2 tablespoons butter
1/4 teaspoon garlic powder
1 tablespoon parsley
Instructions
- Trim crusts and flatten bread.
- Place cheese on each slice.
- Roll tightly into logs.
- Spread butter on the outside.
- Cook in skillet until golden on all sides.
- Serve warm.
Notes
Cook on medium heat to allow cheese to melt without burning the bread.